Results scoring · 12 stages · version 1.00.61
An S-Rank in Mega Man X ReGenesis requires 96–100 points. Every results screen starts with 20 base points, then awards up to 20 each for clear time, enemies defeated, damage taken, and retries. Hitting all four listed goals with zero retries produces 100; an S-Rank leaves room to lose only four points across the scored categories, so a balanced clean route is safer than a fast route that skips enemies or takes damage.
100-point results screen
How Mega Man X ReGenesis S-Rank scoring works
| Category | Points | Scoring rule |
|---|---|---|
| Base score | 20 | Always included in the stage total. |
| Clear time | 0–20 | Full points at or under the goal; falls to zero at twice the goal time. |
| Enemies defeated | 0–20 | Scales up to full points when the listed enemy target is reached. |
| Damage taken | 0–20 | Full points at or below the goal; falls to zero at four times the damage goal. |
| Retries | 0–20 | Full points at zero retries; falls to zero at four retries. |
Base 20 + four perfect categories = 100. You can lose at most four points and remain at 96.
A 95-point result is A-Rank, so “almost perfect” still needs one more point.
Time scoring is not all-or-nothing. Finishing at or under the stage goal earns the full 20 points. Beyond that goal, the score declines until it reaches zero at twice the target time. Enemy scoring moves in the opposite direction: the listed kill count earns 20, while a lower count receives a proportional score. Running past every optional enemy can therefore save seconds while losing more points than the shortcut earns.
Damage also has a grace curve. Staying at or below the listed amount earns 20. Above the goal, the score falls until four times the target produces zero. The results count damage taken, not how much health remains at the finish, so refilling health does not erase earlier hits.
Retries are the strictest planning signal. Zero retries earns 20; four retries earns zero, with the values between them falling across the same category. Because S-Rank allows only four lost points total, a completed attempt with a retry is not a reliable S route even if the other categories look strong. Practice difficult rooms before the scored clear rather than using retries inside the final run.
The displayed rank thresholds are exact: S is 96–100, A is 86–95, B is 76–85, C is 66–75, D is 56–65, and F is 0–55. Use the final category breakdown to identify the next improvement. A low enemy score needs a route change; a low damage score needs safer execution; a low time score needs cleaner movement, not necessarily more combat risk.
| Rank | Total score |
|---|---|
| S | 96–100 |
| A | 86–95 |
| B | 76–85 |
| C | 66–75 |
| D | 56–65 |
| F | 0–55 |
Version 1.00.61 values
Mega Man X ReGenesis S-Rank targets for every stage
| Stage | Full time points | Full enemy points | Full damage points |
|---|---|---|---|
| Fractured Highway | 5:10 or faster | 30 or more | 8 or less |
| Turbine Facility | 4:40 or faster | 40 or more | 10 or less |
| Geothermal Power Plant | 5:30 or faster | 25 or more | 10 or less |
| Waterfall Caves | 4:20 or faster | 25 or more | 10 or less |
| Forest Railway | 3:50 or faster | 25 or more | 10 or less |
| Desert Data Center | 4:40 or faster | 25 or more | 10 or less |
| Biomechanical Preserve | 4:10 or faster | 34 or more | 10 or less |
| Orbital Research Station | 5:00 or faster | 35 or more | 10 or less |
| Frozen Ruins | 4:50 or faster | 25 or more | 10 or less |
| Maverick Fortress 1 | 8:20 or faster | 75 or more | 16 or less |
| Maverick Fortress 2 | 7:40 or faster | 50 or more | 16 or less |
| Maverick Fortress 3 | 7:40 or faster | 28 or more | 16 or less |
Fractured Highway has the tightest damage goal at 8, so early hits matter even though its 5:10 time target is not the shortest. The eight Maverick stages generally use a 10-damage target, but their time and enemy counts vary widely. Forest Railway has the fastest listed goal at 3:50, while Geothermal Power Plant allows 5:30. Turbine Facility asks for 40 enemies, considerably more than the 25 required by several other stages.
The fortress stages expand both scale and tolerance. Maverick Fortress 1 allows 8:20, requires 75 enemies, and gives full damage points at 16 or less. Fortress 2 and 3 each allow 7:40, but their enemy goals differ sharply at 50 and 28. That difference is why one universal “rush to the exit” route cannot fit every stage: a route must satisfy the local enemy count while preserving time and damage.
These values are the boundaries for full category points, not mandatory pass/fail gates. A run can exceed one goal and still score within that category's curve. For S-Rank, however, the four-point loss budget is so small that planning around the full-point targets is much easier than calculating how far one category can slip while the others remain perfect.
Protect all four categories
Mega Man X ReGenesis S-Rank strategy for every stage
S-Rank time routing
Charge while moving, choose weapons before the next room, and keep a repeatable line through ladders, doors, and vertical sections. A clean route is faster than a risky shortcut followed by recovery.
S-Rank enemy-count routing
Choose enemies already near the fastest path. Learn one or two safe clusters that cover the target instead of turning around late because the result is short by several kills.
S-Rank damage control
Waiting one pattern cycle often costs fewer total points than taking a hit. The damage category and lost movement after contact can punish the same mistake twice.
Begin with a route that finishes safely under the enemy and damage goals even if the time is slightly slow. That first clear tells you which sections are genuinely expensive. Remove pauses, unnecessary weapon changes, and backtracking one at a time. If a shortcut regularly causes damage or a retry, return to the safer line until the movement is automatic.
Enemy choice matters more than raw aggression. Durable or awkward targets can consume time and create damage risk, while nearby small enemies add to the same category. Count a reliable set along your normal line and keep a small margin above the listed goal. The margin protects the run when one enemy despawns, is missed by a projectile, or would require a costly turn.
Boss rooms should begin with the correct weakness already selected when the route allows it. The weakness improves damage efficiency, but shooting into invulnerability frames wastes both time and weapon energy. Learn one safe response to each major pattern, punish the recovery, and protect the damage target. S-Rank rewards a controlled fight more than an early burst followed by contact damage.
Route tools
Best Mega Man X ReGenesis S-Rank upgrades
 Base X
 Upward punch
 Weapon charge
 Level-three buster
 Defense and recovery
 Downward kick
 Rapid fire
 Midair jump
 Air dash
Movement: midair jump and air dash
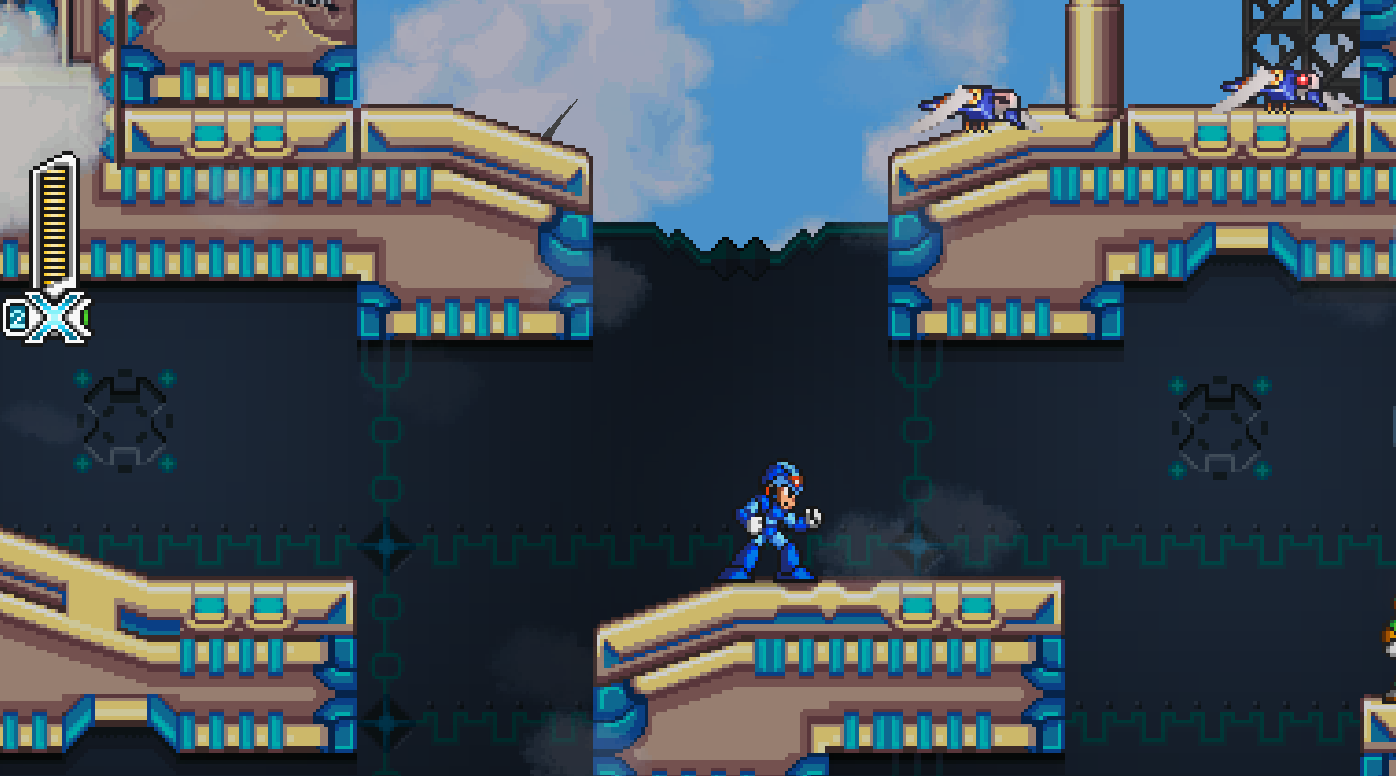
The Forest Railway midair jump adds correction after leaving a platform and helps preserve a clean line through vertical rooms. The Waterfall Caves air dash covers horizontal gaps and converts safe openings into speed. Together they reduce failed jumps, shorten recovery, and make room transitions more repeatable. Their value appears in both the time and retry categories.
Survival: defense and recovery
The Frozen Ruins defensive upgrade reduces punishment, removes knockback, and improves recovery. It can protect both the damage score and the route after a mistake. It does not make damage free, but it reduces the chance that one contact turns into several lost seconds or a death.
Combat: charged weapons and faster buster rhythm
The Desert Data Center helmet enables charged Special Weapons, giving the full weapon inventory more ways to remove durable enemies or exploit a boss weakness. Biomechanical Preserve's rapid-fire and charge-time upgrade improves the always-available X-Buster. Both help enemy count and time when used without stopping movement.
Route-specific attacks
The upward punch, downward kick, and level-three buster have narrower but real uses. Test them in the exact room where they might replace a detour or slow enemy cycle. A situational tool belongs in the route only when it is more repeatable than the standard movement or weapon option it replaces.
Compare all eight upgrades for first clears, collection, and S-Rank value →
One category at a time
Mega Man X ReGenesis S-Rank practice route
- Record one safe completion.Finish the stage without chasing rank and note the four result categories.
- Lock the enemy route.Choose a repeatable set that reaches the listed count without a late detour.
- Divide the stage into segments.Practice the opening, midpoint, boss approach, and boss until each has a stable line.
- Protect zero retries and the damage goal.Do not trade consistency for speed until both categories are dependable.
- Compress the time last.Remove pauses and weak transitions while keeping the established kill count and safe boss plan.
The twelve stage achievements cover Fractured Highway, all eight Maverick stages, and Maverick Fortress 1 through 3. “Absolute Legend” is the meta achievement for collecting every stage S-Rank. Treat the campaign as twelve separate route problems rather than one uninterrupted speedrun. A strong route can be saved mentally or in notes and repeated without risking progress on the other stages.
After a failed attempt, use the results screen as diagnosis. If time is perfect but enemies are low, add a nearby cluster rather than moving faster. If damage is low-scoring, identify the first recurring hit and practice that room. If retries cost the run, stop full-stage attempts and drill the failure point. The shortest path to 96 is improving the weakest category without breaking the three that already work.
Quick answers
Mega Man X ReGenesis S-Rank FAQ
What score is S-Rank?
S-Rank requires more than 95 points, so the exact range is 96–100.
How is the score calculated?
Every result starts with 20 base points. Time, enemies, damage, and retries contribute up to 20 each for a maximum of 100.
Do I need every target for S-Rank?
Not mathematically: categories decline on a curve. In practice, S-Rank allows only four lost points, so planning for all full-point targets and zero retries is the reliable route.
How many stages have S-Rank achievements?
Twelve stages: Fractured Highway, eight Maverick stages, and three fortress stages. A thirteenth S-Rank-related achievement rewards earning them all.
What are the best S-Rank upgrades?
Midair jump and air dash have the broadest route value. Defense protects damage consistency, while charged weapons and faster buster rhythm support enemy count and time.